Essential First Aid for Hiking Injuries: A Step-by-Step Guide
Imagine you’re enjoying a serene hike through the mountains, the fresh air filling your lungs, birds chirping around you. Suddenly, a misstep leads to a twisted ankle, disrupting the peace and potentially your mobility. Hiking, while exhilarating, comes with its risks. Knowing how to handle such situations can mean the difference between a minor hiccup and a severe complication. This guide aims to arm you with essential first aid knowledge specific to common hiking injuries—equipping you to handle unexpected mishaps with confidence.
Understanding the Basics of Hiking Safety
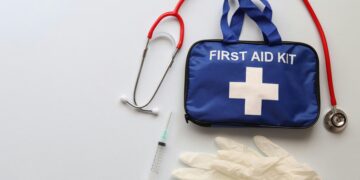
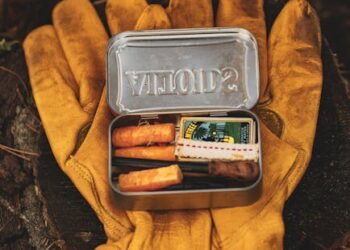
Before we delve into the specific injuries and their treatments, let’s understand the importance of preparedness. Proper planning, including familiarization with the trail and the weather conditions, is crucial. Always carry a basic first aid kit tailored to hiking; this should include items like bandages, antiseptic wipes, and blister treatments, to name a few essentials.
Step-by-Step Management of Common Hiking Injuries
When you encounter an injury on the trail, keeping a cool head and following a systematic approach can significantly affect the outcome. Here’s a straightforward guide to dealing with some typical hiking injuries.
1. Cuts and Scrapes
Step 1: Stop the Bleeding
- Apply gentle pressure with a clean cloth or sterile bandage.
Step 2: Clean the Wound
- Rinse well with clean water. Use soap if available, but avoid getting soap directly in the wound.
Step 3: Protect the Wound
- Apply an antibiotic ointment if you have one.
- Cover with a sterile bandage.
2. Sprains and Strains
Step 1: Rest and Immobilize
- Encourage the injured person to stop moving the affected area.
Step 2: Ice
- Apply ice or a cold pack wrapped in a towel to reduce swelling, applying intermittently: 20 minutes on, 20 minutes off.
Step 3: Compression and Elevation
- Use a bandage to compress lightly.
- Elevate the injured limb higher than the heart, if possible.
3. Snake Bites
Step 1: Keep Calm and Restrict Movement
- Reduce the spread of venom by keeping as still as possible.
Step 2: Position the Limb
- Keep the bitten area at or slightly below heart level.
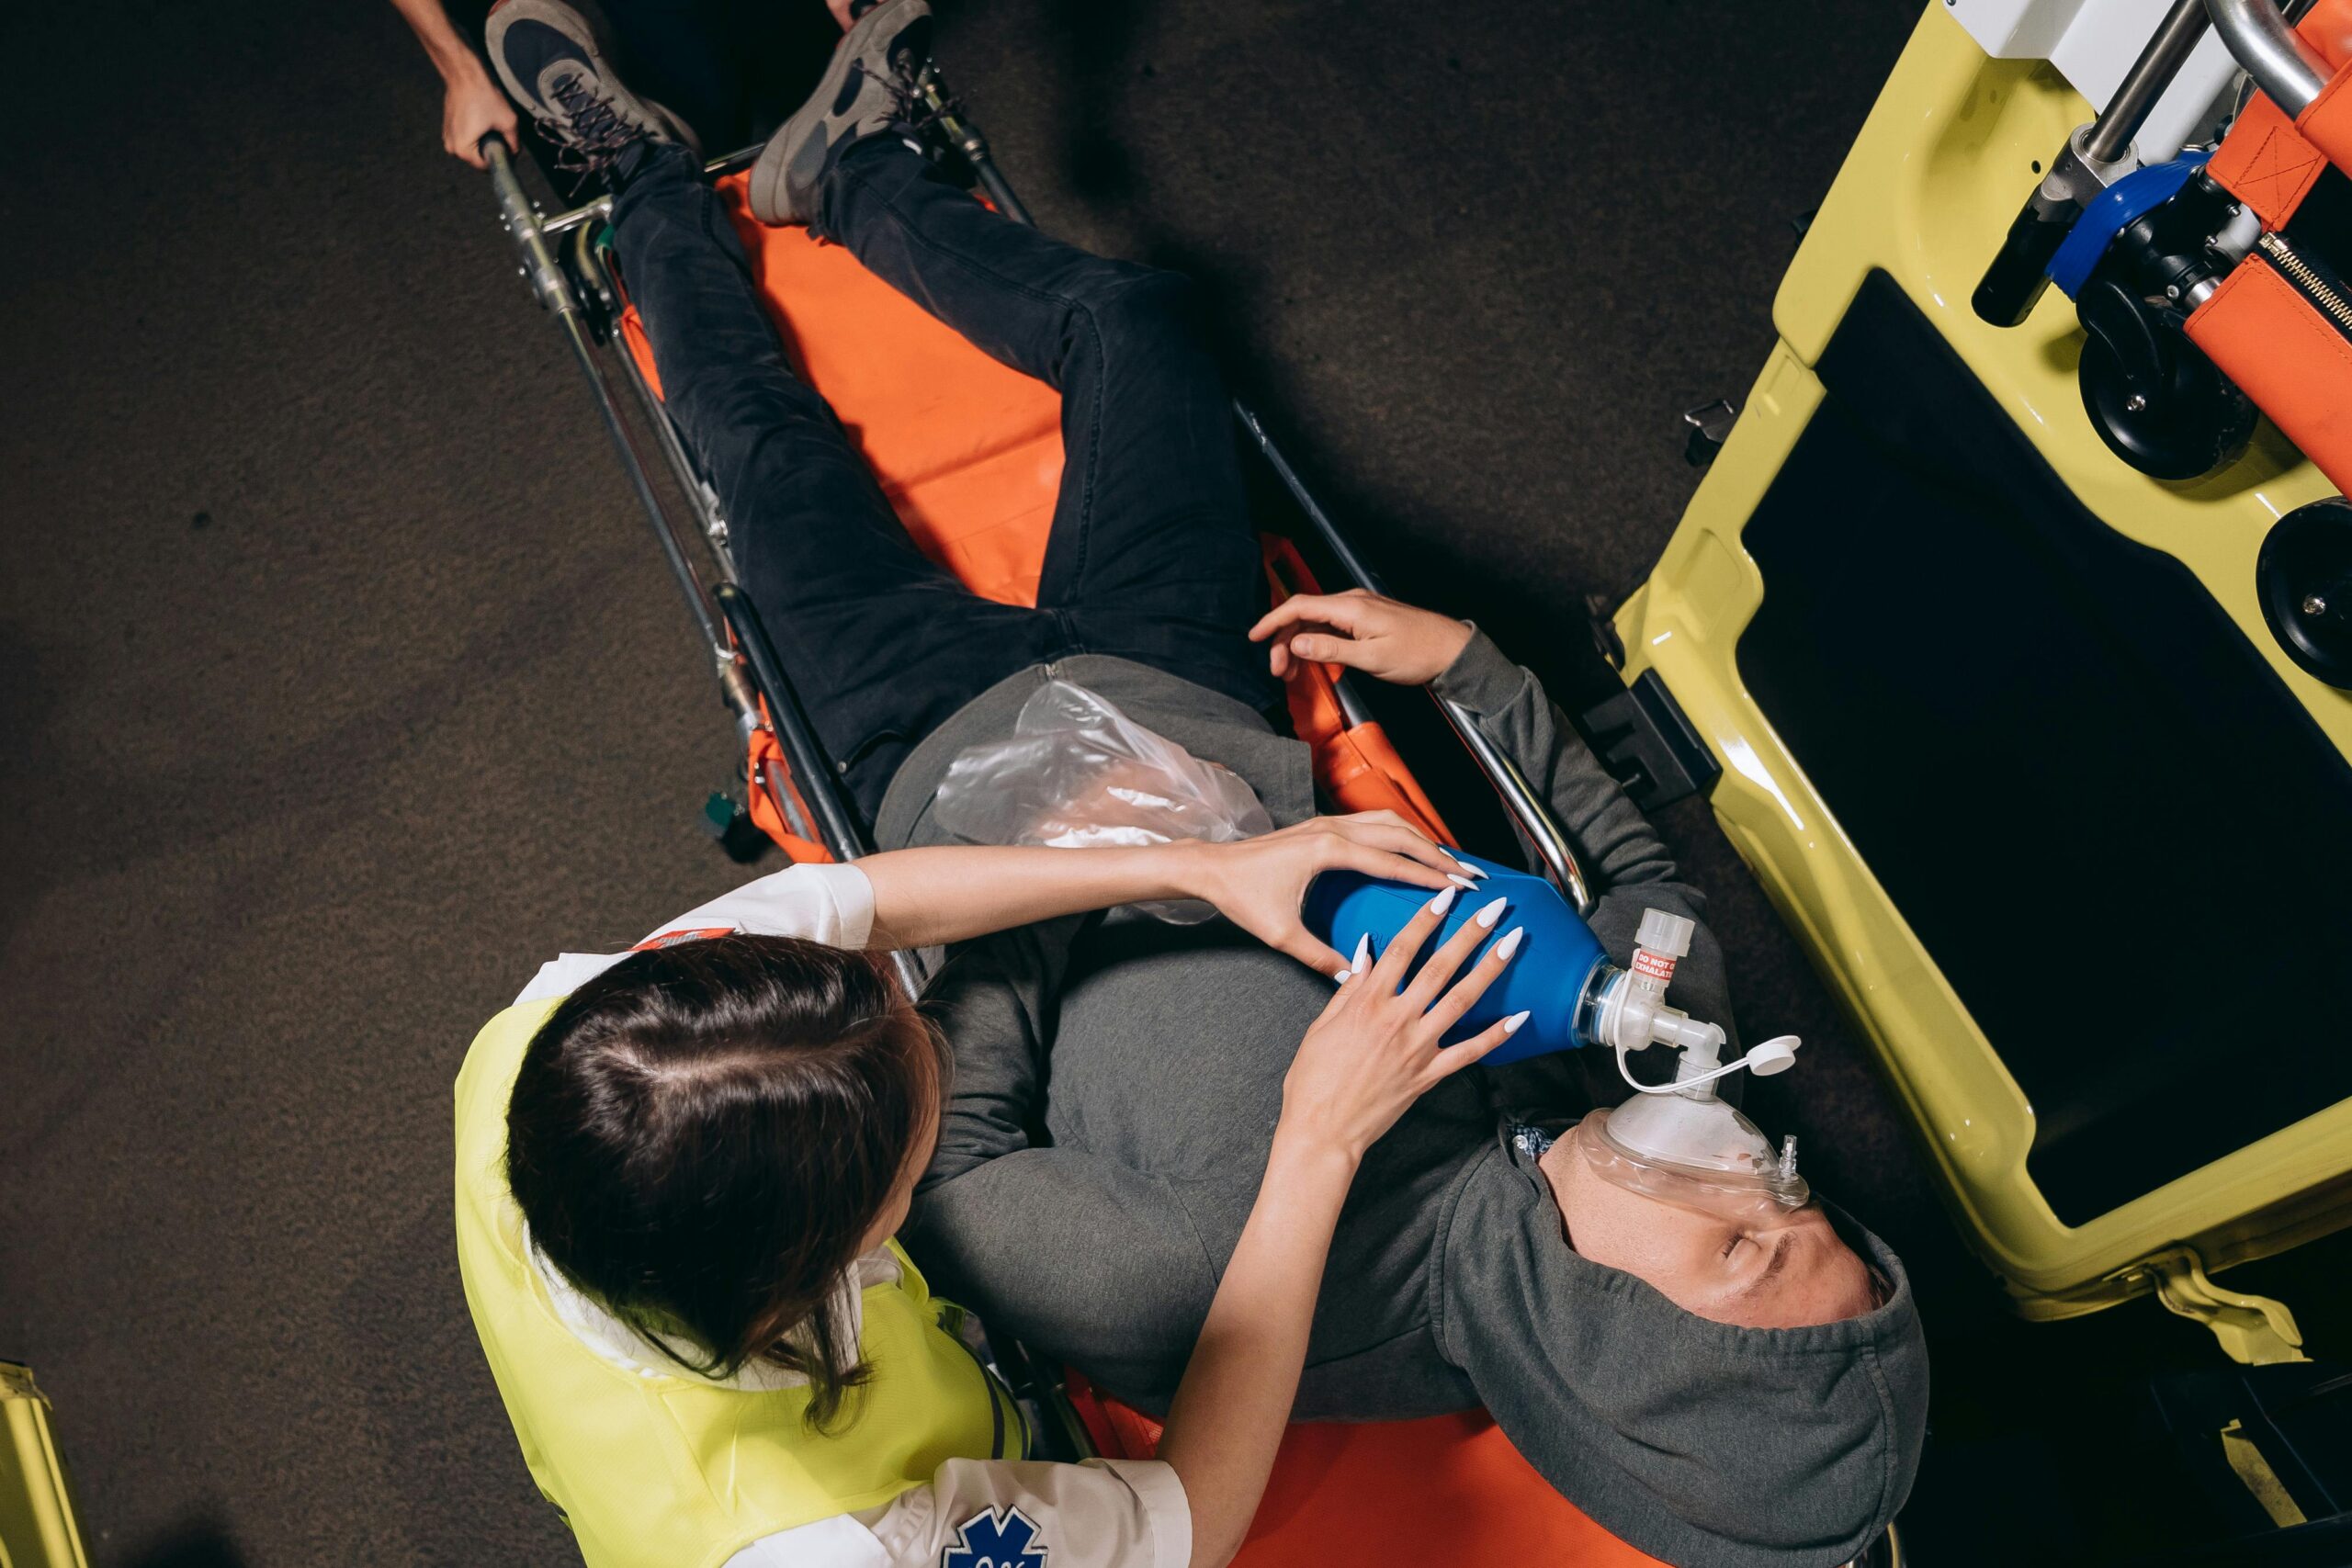
Step 3: Get Help Promptly
- Call for emergency help or get to the nearest hospital quickly; monitor vital signs if possible.
4. Heat Exhaustion
Step 1: Find Shade
- Move the affected person out of direct sunlight.
Step 2: Hydrate
- Provide cool water to drink.
Step 3: Cool Down
- Apply cool, wet cloths to as much of the body as possible.
What’s in Your Hiking First Aid Kit?
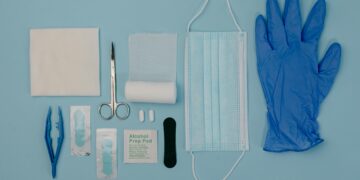
Ensuring you have a well-stocked first aid kit is a fundamental step in hiking preparation. Here’s a quick checklist for a basic hiking first aid kit:
- Sterile gauze and bandages of various sizes
- Antiseptic wipes and antibiotic ointment
- Tweezers and scissors
- Elastic wraps for sprains
- Pain relief medication, such as ibuprofen
- Emergency blanket
- A whistle and mirror for signaling
In review, while the peacefulness of hiking offers a wonderful escape from daily life, injuries can occur unexpectedly. By following this straightforward guide and maintaining a well-prepared first aid kit, you’ll not only enhance your safety but also your confidence and enjoyment of the great outdoors. Remember, prompt and effective first aid isn’t just a skill; it’s a vital part of any hiker’s toolkit. Always be prepared, stay safe, and happy hiking!